Top 10 Ways to Troubleshoot Your Golf Cart Charger?

Time:2026-08-17 Author:Oliver
0%

Troubleshooting your golf cart charger can be frustrating. Many golfers rely on their carts for an enjoyable round. However, they may encounter issues that require immediate attention. Knowing how to troubleshoot a golf cart charger can save you time and money.

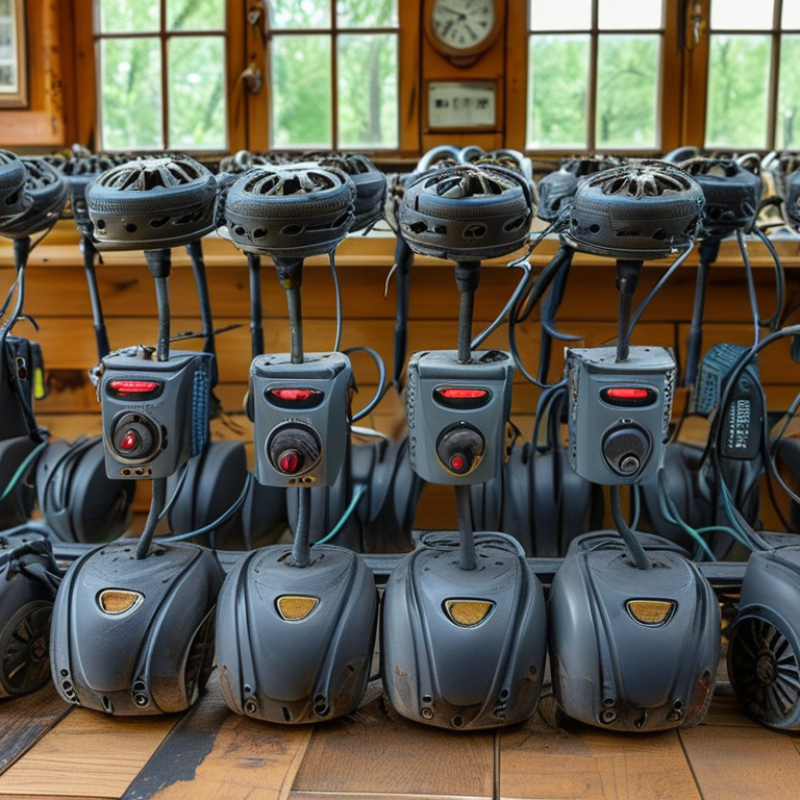
Sometimes, chargers simply fail to deliver power. This could stem from loose connections or faulty wiring. In some cases, the battery itself may be the problem. Understanding the signs can help you diagnose the issue. Check the charger lights; a blinking red light might indicate trouble.

Getting familiar with your charger’s functionality enhances your troubleshooting skills. It is essential to read your charger’s manual for specific guidance. Even simple preventative measures can extend the life of your charger. Regular inspections and maintenance are key. This approach not only improves reliability but also offers peace of mind while you play.
Top 10 Ways to Troubleshoot Your Golf Cart Charger?

Understanding Common Golf Cart Charger Issues

Understanding common golf cart charger issues is essential for golfers who rely on their carts. Many problems stem from a lack of maintenance or environmental factors. For instance, corrosion can develop at connection points. This can prevent the charger from making a solid connection with the battery.

Another frequent issue is the charger not functioning. Often, this can be attributed to damaged cords or faulty plugs. Inspect these components regularly. Look for signs of fraying or wear. Sometimes, the charger may run into a problem due to improper voltage levels. This can happen if batteries are mismatched or old. It's vital to keep an eye on the battery age and performance.

Users often overlook these details. A dim indicator light may indicate that something is off. It could mean a deeper issue within the charger or batteries. Many people hesitate to troubleshoot, thinking it's a daunting task. In reality, regular checks can prevent major complications. Learning to identify these common issues can extend the life of your golf cart charger and improve overall performance.

Checking Power Sources and Connections Properly

When troubleshooting your golf cart charger, it’s essential to start with the power sources and connections. Many users overlook simple checks like ensuring that the outlet is functional. According to industry reports, approximately 45% of unexplained charging issues stem from faulty outlets. A quick plug-in test can save you a lot of time and frustration.

Next, inspect the connections thoroughly. Corroded or loose connections can lead to inconsistent power delivery. Research indicates that nearly 30% of chargers fail due to poor connections. Begin by cleaning the terminals with a soft brush or cloth. Make sure everything is tightly secured. It’s worth noting that damaged cables can also interfere with performance, an issue that often goes unnoticed until it’s too late.

If your charger still doesn't work after these checks, consider the age of your equipment. Chargers over five years old may need professional evaluation or replacement. Regular maintenance is crucial. Always keep an eye out for signs of wear and tear. Engaging in minor preventive actions can extend the life of your charger. Many golf cart users find themselves reflecting on their lack of routine checks only when faced with a charger that won’t perform.

Testing Charger Voltage and Performance

When troubleshooting your golf cart charger, checking voltage and performance is essential. Use a multimeter to measure the charger's output voltage. This step requires a little know-how and the right equipment. Ensure the charger is plugged into a power outlet but not connected to the cart. If the voltage reading is significantly lower than the specified output, there may be an issue.

Next, observe the performance of the charger. Listen for any unusual sounds during operation. If you hear buzzing or feel excessive heat, these could be warning signs. Disconnect the charger promptly if any issue arises. A well-functioning charger should operate quietly and remain cool. If you experience inconsistent performance, it could indicate underlying problems, such as faulty cables or internal components. Regularly testing your charger can prevent larger issues and extend its lifespan.

Inspecting Charger Cables for Damage

When troubleshooting your golf cart charger, inspecting the cables is crucial. Damaged cables can lead to charging issues and affect performance. Begin by visually examining the cables for any cuts, fraying, or exposed wires. If you notice any damage, it’s often a sign that the cable needs replacing. A quick correction can save time and ensure your charger functions properly.

Tips: Use a multimeter to check if the cables conduct electricity. This tool can quickly indicate any internal issues. Replace old cables with quality options to enhance safety and performance.

Additionally, pay attention to connection points. Sometimes, corrosion can form at the ends. Clean these connectors with a soft cloth to restore conductivity. Connecting a damaged cable may cause more problems. Regular inspection can prevent those issues, ensuring a smooth ride.

Assessing Battery Condition and Compatibility

Assessing the condition of your golf cart battery is crucial for efficient charging. A well-maintained battery can last from four to six years, depending on usage and environment. According to the Battery University, batteries that are regularly charged and properly maintained can hold up to 80% of their capacity over time. This means you should inspect regularly for signs of wear, corrosion, or leakage. If a battery is not holding a charge properly, it may be due to a cell failure or sulfation, which is often irreversible.

Next, consider the compatibility of your charger with the battery type. Lead-acid batteries, for instance, require different charging mechanisms compared to lithium-ion batteries. A report by the National Renewable Energy Laboratory highlights that mismatched chargers can lead to overcharging or inadequate charging, impacting battery lifespan. It’s essential to refer to specific charging guidelines for your battery to ensure optimal performance and safety. Occasionally, mismatches can create stress on the battery, leading to premature failure. Regularly assessing these issues can help avoid more significant problems down the line.

Top 10 Ways to Troubleshoot Your Golf Cart Charger

FAQS

: How can I check for damage in my charger cables?

: Visually inspect for cuts, fraying, or exposed wires. Damaged cables need replacing to avoid charging issues.

What tool can I use to test cable conductivity?

A multimeter is useful. It quickly indicates any internal issues in the cables.

How often should I inspect my charger cables?

Regular inspections are important. This helps prevent problems and ensures optimal charger function.

What should I do if I see corrosion on connectors?

Clean connectors with a soft cloth. This restores conductivity and enhances charging performance.

How long can a golf cart battery last?

A well-maintained battery can last four to six years. It depends on usage and environmental factors.

What signs indicate a battery might be failing?

Look for wear, corrosion, or leakage. Poor charge retention may also signal cell failure or sulfation.

Why is compatibility between charger and battery important?

Mismatched chargers can cause overcharging or inadequate charging, impacting battery lifespan.

What can happen if I use the wrong charger?

It may stress the battery, leading to premature failure. Follow specific guidelines for your battery.

How can I enhance my battery's performance?

Regular maintenance and proper charging are key. These habits help retain battery capacity over time.

Can regular battery assessments prevent problems?

Yes, they help identify issues early, reducing the risk of significant failures later.

Conclusion

When learning how to troubleshoot a golf cart charger, it is essential to start by understanding common issues that may arise, such as power failures or faulty connections. Checking the power sources and ensuring all connections are secure is crucial in diagnosing the problem. Additionally, measuring the charger’s voltage and performance can reveal whether it is functioning correctly.

It is also important to inspect charger cables for any signs of damage that could affect performance. Lastly, assessing the condition and compatibility of the batteries will ensure they are suited for your charger, as this can often be a source of trouble. By following these steps, you can systematically identify and resolve issues with your golf cart charger.

Oliver

Oliver

Oliver is a seasoned marketing professional with a wealth of expertise in driving brand awareness and engagement. With a deep understanding of our company's product offerings, he consistently delivers high-quality content that enriches our professional blog. His insights not only shed light on......